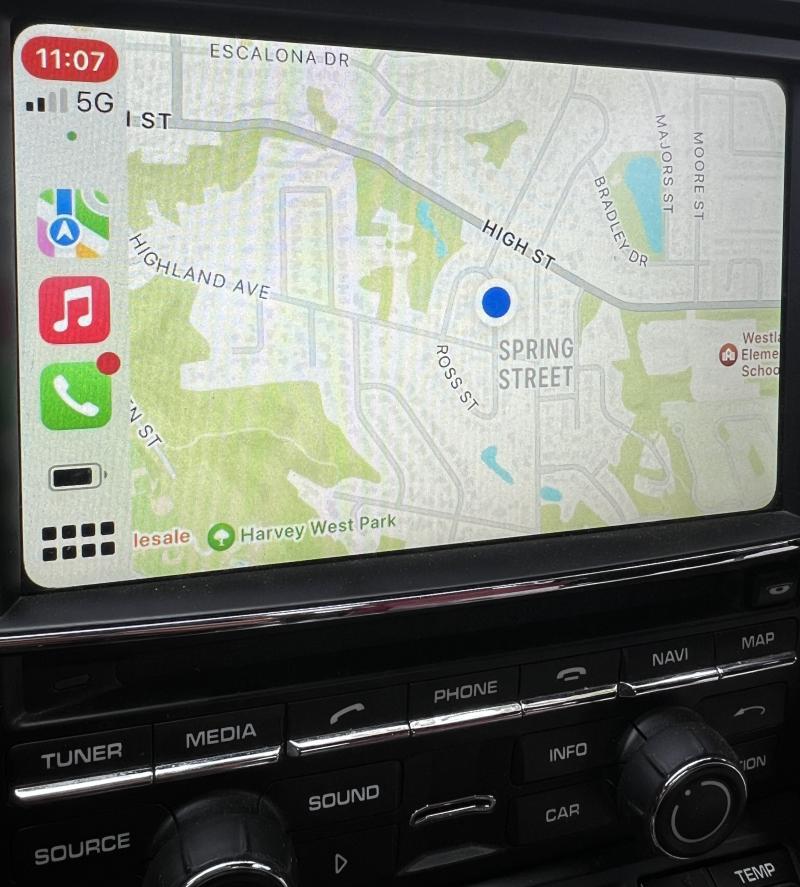
I bought a kit from Isudar for about $225 back in September for my PCM 3.1 unit. There are some YouTube videos that help with installation. It's a PITA but I finally got it going. Everything works to spec and its great to have a similar experience in both our cars.
Here are my notes from that job.
For Isudar CarPlay install we will need the following tools.
- Torx screwdrivers
- Small tweezers
- Plastic spudgie or hook
- Small screwdrivers
What should have been a two hour job turned into five hours on Saturday.
But, we had no power when I went to get it into car. Before we tear it down and recheck connections, we’ll:
- check for an optical cable and get it moved into correct harness
- plug in USB rear camera setup even though we don’t need it
- Perform power up check
- Understand the small space in the console to feed all the cables (behind glovebox).
- Try to get more of the BT antenna cable into the PCM unit so just the ends are hanging out
If we can’t get power, pull out the PCM unit
- check ribbon cables on motherboard
- Test cables plugged into screen, they were disassembled yesterday.
- Secure BT antennas in PCM
- Recheck cable connections. Power connector needs to be pushed in pretty hard.
During the process, the monitor had become disconnected. I had not followed the process precisely and inadvertently taken the screws out that hold the display to the rest of the PCM. I spent another 5 hours on Sunday installing, rechecking, failing, and finally pulled out all the CarPlay equipment. I have radio, but no video displaying on console. Thus, I suspected that the ribbon cables are probably broken.
So, I found some FPC cables on Amazon as a backup. On Monday, I took it apart and reinstalled the Isudar unit. The first time, I got audio but no video at the display unit. So, we pulled it out and took it to the bench and uninstalled. I pulled out the Amazon cables and left the OEM cables in the sun for a few minutes to soften the plastic. I then did some tweaking to straighten out the cables. It took one more round of reseating all the cables to get a successful install.
The big learning here is to not to accidentally pull the display off the unit. That caused me to have to pull it off each time I had to test and it added two more connections to check/recheck.
Left to do is figure out if I want the external mic. I’d have to mount it in the cabin and route the 3.5mm audio cable to the wiring harness.
Also, if we wanted to do a rear camera, we’ve got that ability but I pulled that wiring harness out to create some room for cable management.
The cable management and getting the device back in was a few more tries of getting the big connectors pushed to back where we have some openings behind the glove box and steering wheel.
